Mola Vole Trap - Volex Wolff
Short description
- Effective Capture: The VoleX Wolff trap is designed for efficient and reliable capture of voles.
- Environmental Safety: A safe and environmentally friendly solution to protect your outdoor space.
- Ecological Control: Contribute to the ecological control of voles in your garden or surrounding area.
- Professional Design: Professional trap with a design designed to maximize effectiveness.
- Garden Protection: Keep your garden safe from harmful voles with this specialized trap.
- Easy to Use: Simple to position and manage for hassle-free capture.
- VoleX Wolff Quality: Trust a renowned brand for high-quality vole control solutions.
- Durability: Made with sturdy materials to ensure long life.
- Versatility of Use: Suitable for different outdoor areas, from the home to the garden and more.
- Preventive Defense: Use the VoleX Wolff Trap for an effective defense against voles before they can cause damage.
Returns and Refunds
Returns and Refunds
- If for any reason you are not satisfied with your purchase, you can return the products within 14 days of receiving your order.
- You can proceed with the return of the entire order or only partially, by selecting the items you want to return during the return procedure.
- Make the return directly by e-mail: info@agritura.com. Insert the order number and the e-mail with which you made the purchase, the surname used during the purchase and the numbers of the articles for which you intend to exercise the right of withdrawal.
Shipping and delivery costs
Shipping and delivery costs
- Shipping costs start at €11 and vary according to weight and destination. For cash on delivery purchases there is an additional cost of €7.50.
- The minimum order is 50€. In the case of orders for a lower amount, a surcharge of €5 + VAT will be added to cover the costs of processing the order.
Backorder Policy (Out-of-Stock Products)
Backorder Policy (Out-of-Stock Products)
- Even if a product is out of stock, you can still place an order.
- After receiving your order, we will immediately check availability with our supplier.
- If the product is available, we will confirm and process your order.
- If the product is not available, we will issue a full refund within 2 business days.
- The estimated delivery time for backordered items is usually 2-3 weeks.
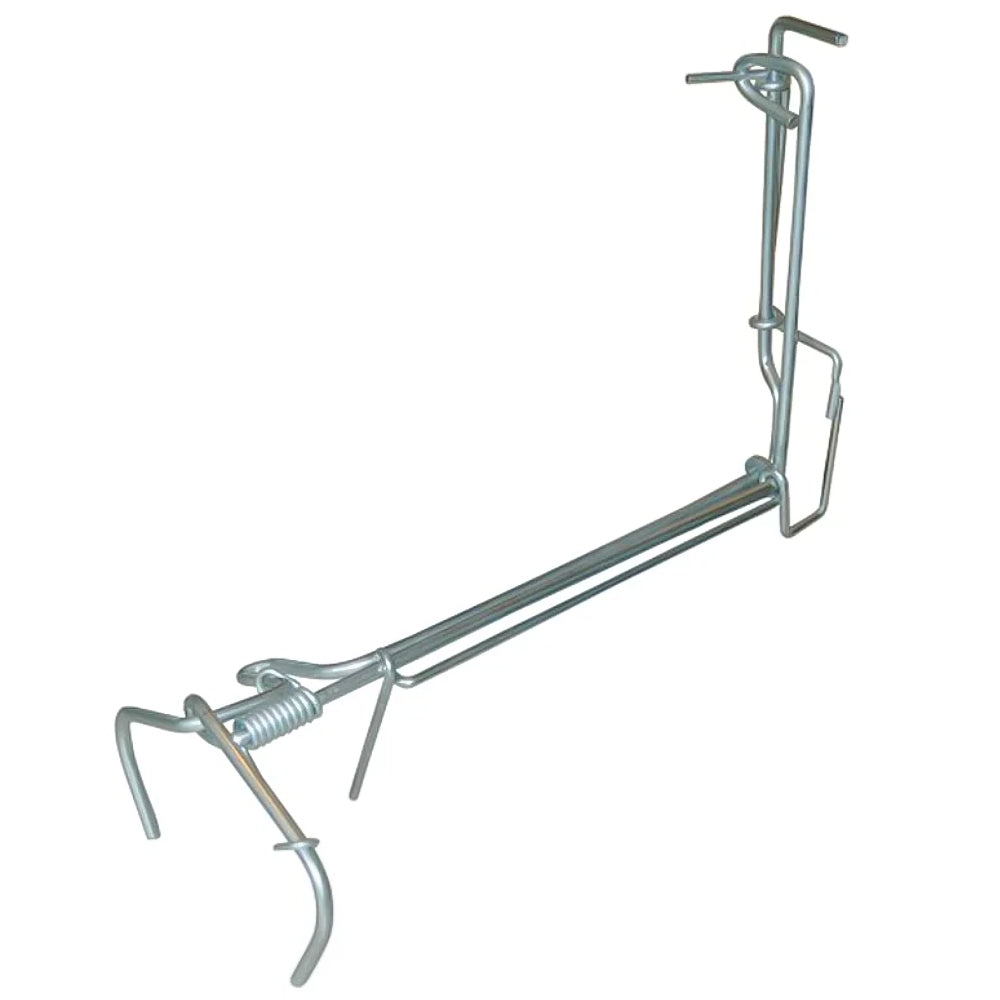
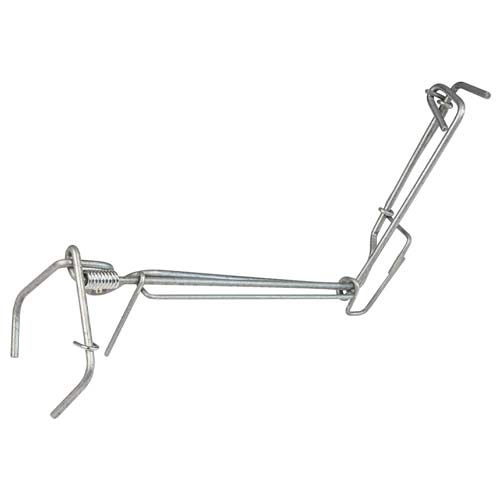
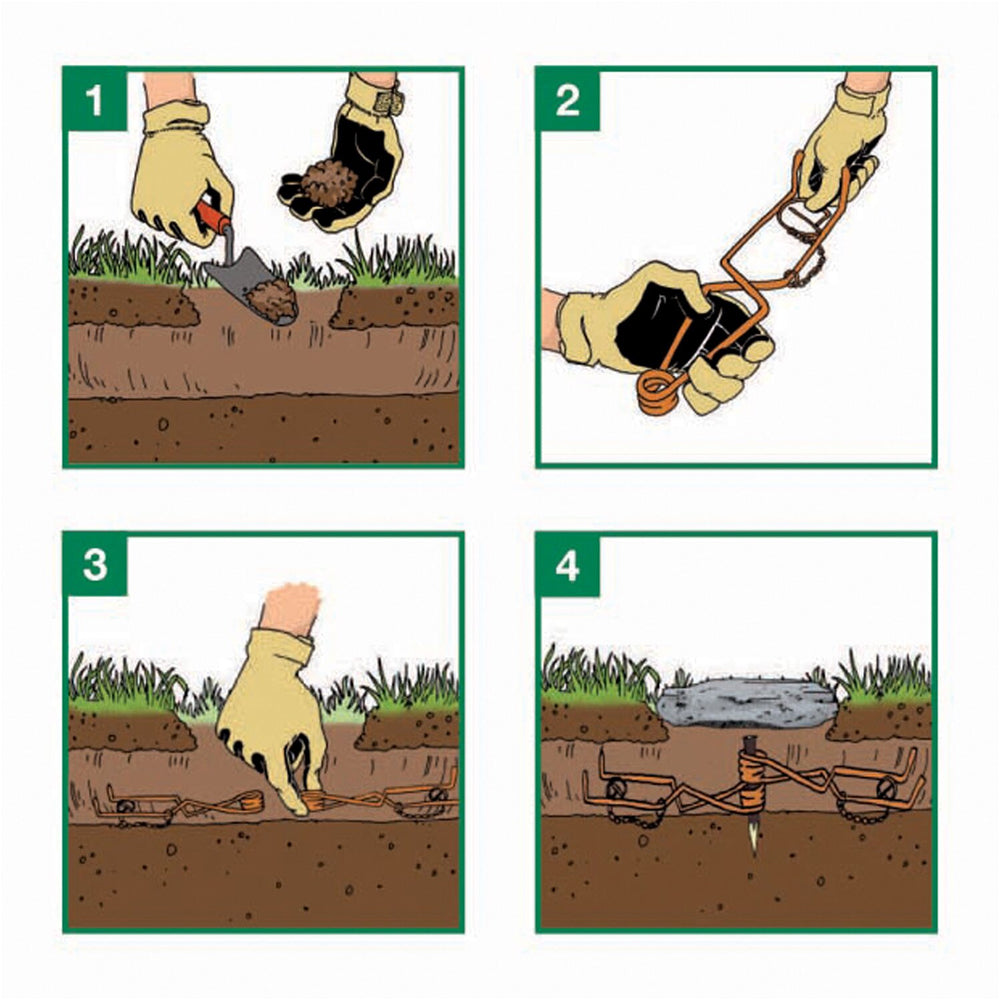
Setting the Wolff Trap: The Wolff Trap has the advantage that there is no need to fine-tune the trigger, no need to extend the gear and the position of the spring arms makes
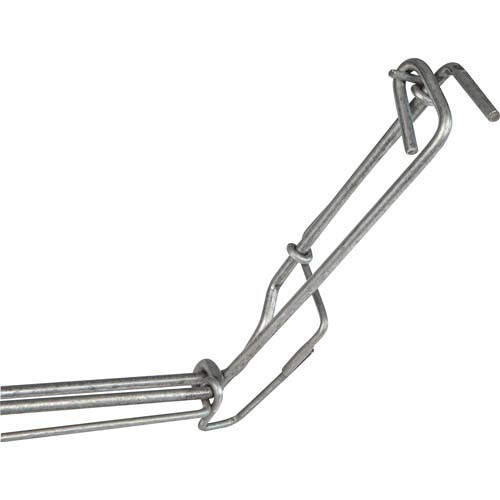
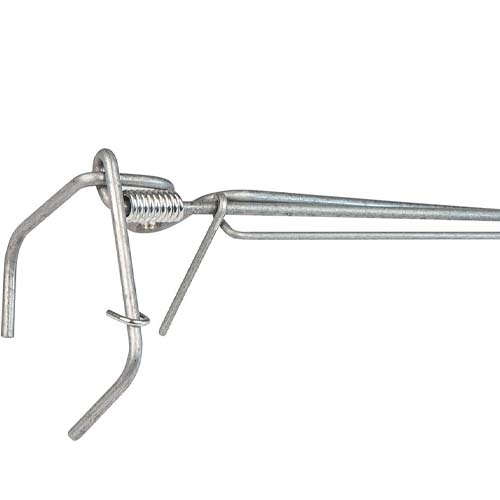
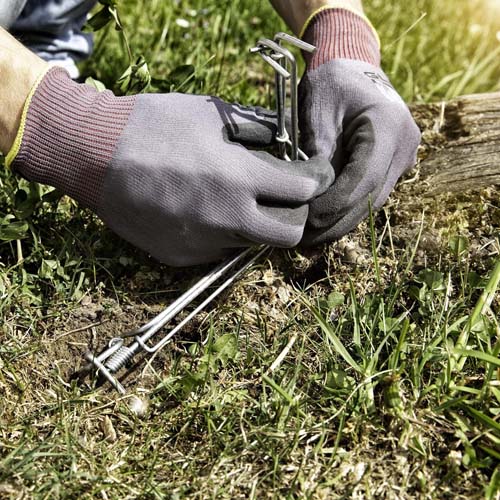
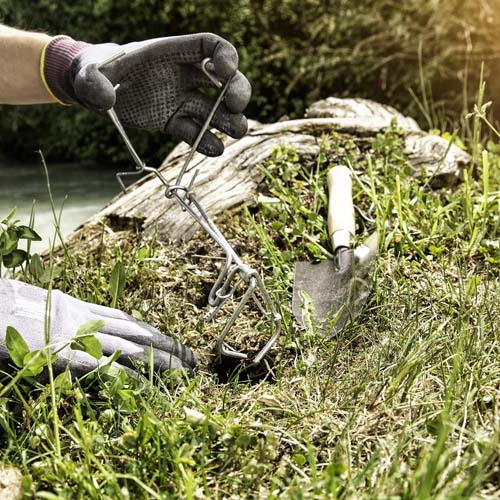
Once you have located and opened the hallway, do not expand the hallway. Place a piece of dandelion root, small carrot or similar bait on the stripper wire towards the bottom of the trap. Then push the latch into the corridor in semi-tensioned conditions up to the adjustment legs. Now the trap is fully set. During tensioning, the safety stops are pressed laterally into the corridor walls. The adjustment legs are held with the left hand, while with the right hand the corner leg of the vertical drive wire at the back is inserted through the eyelet at the top of the adjustment leg and held there. With your right hand, the rear bent end of the puller wire is now placed parallel behind the lower end of the drive wire. The trap has now been caught.<>br It is recommended to support the back of the trap with a small piece of earth so that the trigger pin remains freely movable and is not stuck in the ground. The mouse sees only the trigger wire with the bait, grabs it with its teeth and is killed. If the trap is clogged with soil during the follow-up inspection, an error was made during installation.
- Original woIfsche model
- Header
- Highly recommended

